Tips to avoid a patchy ceiling
A patchy ceiling can make or break the look of a room. Uneven paint can cause a space to look unfinished, whereas a well-painted smooth ceiling gives a polished feel. Patchy ceilings can also be caused by streaks from the paint roller, brush marks or stipple from an uneven roller. Here’s how to give your ceiling an even, smooth look.
What makes ceiling paint look patchy and how to fix it?
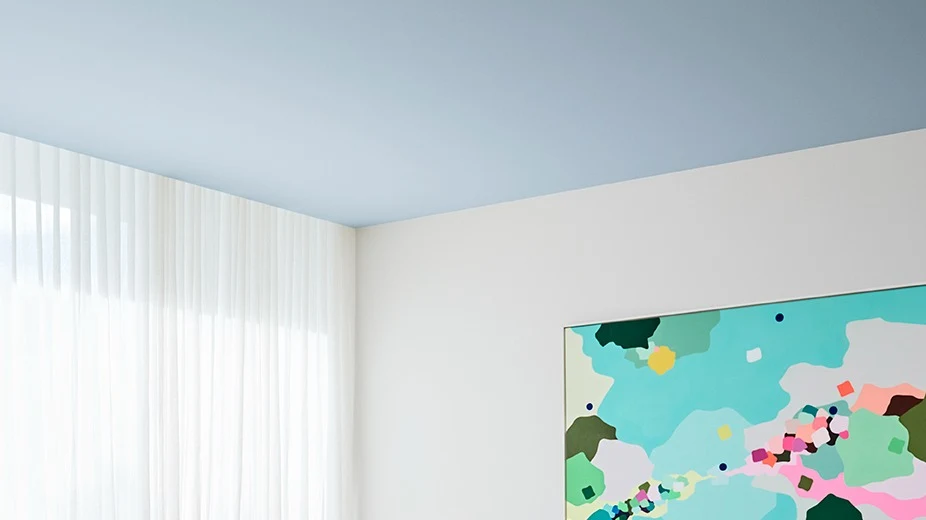
Ceiling paints have a flat sheen level. This means light is diffused evenly across the surface, which can cause any imperfections to become easily spotted.
Usually, patchiness in dry ceiling paint is caused by not having a ‘wet edge’ as you paint. This means keeping the edge of the painted area wet so that when you roll into the next section, it blends smoothly so no lines appear.
The only way to even out a patchy ceiling finish is to re-paint the whole ceiling. Re-painting a small area can often make the patchiness more visible.
Here are some tips to avoid patchy paint on your ceiling:
Tips to avoid patchy paint
Reduce air movement
When air passes over a wet paint surface it brings out moisture in the paint, making it dry faster. Close doors and windows while painting to minimise air movement for a smoother finish.
Avoid warm air
Paint dries quicker on hot days, making it harder to maintain a wet edge. Paint during a cooler time of day, such as early morning and turn off heaters before painting if painting in winters.
Choose a good roller
Use a 12 - 18mm nap high quality synthetic roller to ensure a smoother, even finish. Some microfibre roller sleeves don’t deliver enough paint to the surface and can result in applying a thin film of paint which dries rapidly and causes lines or ridges.

Before using a roller
Use the correct amount of paint
Check the paint coverage on the side of the can to ensure you’re applying the right amount of paint. Spread it too thinly and it will look patchy; spread it thick and it can look lumpy or uneven.
Lay off at the right time
Work section by section laying off each section by moving the roller in long parallel strokes while the paint is still wet. This helps avoid passing the roller over paint that’s already started to dry and leaving noticeable edges.
Use a roller pole
Whenever possible, use an adjustable extension pole suitable for the height of the ceiling. This speeds up the painting process so you don’t have to climb up and down a ladder each time. A small roller may be more appropriate for painting above cabinetry.

Here's what you need to get started:
Products
Tools and Accessories
Medium nap synthetic roller (10-18mm)
Paint pot
Roller tray
Extension pole
Painter's tape
Remember:
The nap length of a roller refers to the thickness of the roller cover. Less than 10mm nap length won’t deliver enough paint, and can make it look uneven. Most ceilings need a 10-18mm nap sleeve.
Follow these 4 easy steps
Interior how to guides
Nothing beats a great paint job, especially one you’ve done yourself. Give yourself the best chance at success by following these instructions.

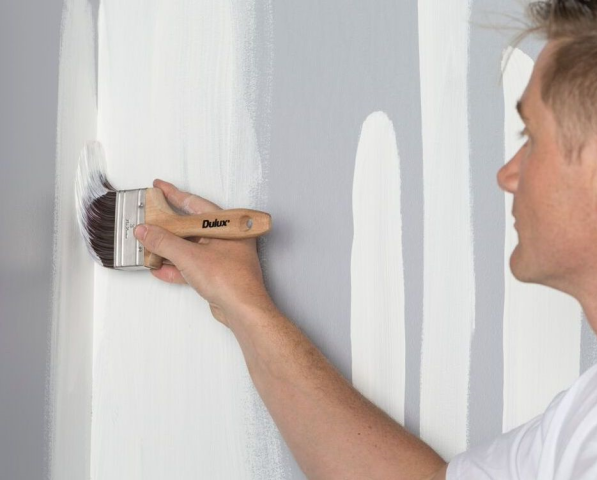
The walls of your home colour your world. They are what set the mood for everyday life. So, the way you apply your paint can be just as important as the colour itself.
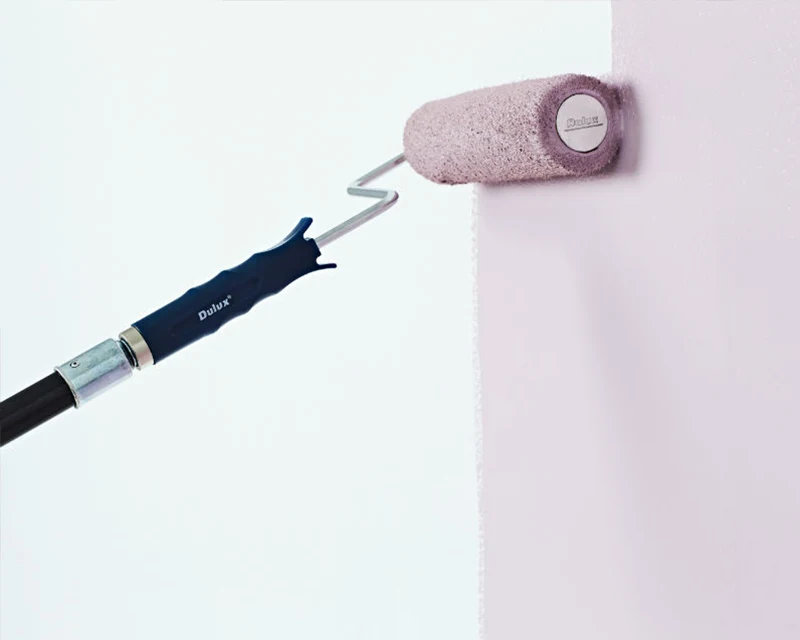
To use a roller you'll need a tray, frame, roller cover and possibly an extension pole. Make sure you have the right roller for the job.
For a superior washable finish, our Wash&Wear® Low Sheen, with its stain resistance and mould & mildew resistant technology makes it ideal for all interior walls including high traffic areas.

Explore sample pots, A4 swatches and colour stickers.
Book now to have an online or in-home colour consultation with a qualified interior designer.
Ask an expert. Use LiveChat to speak to one of our consultants for help about colour, products, projects and more.