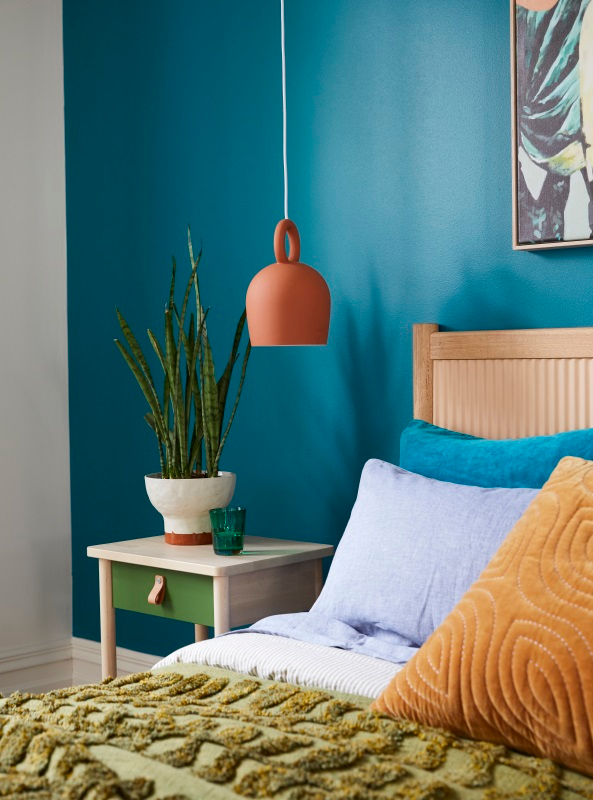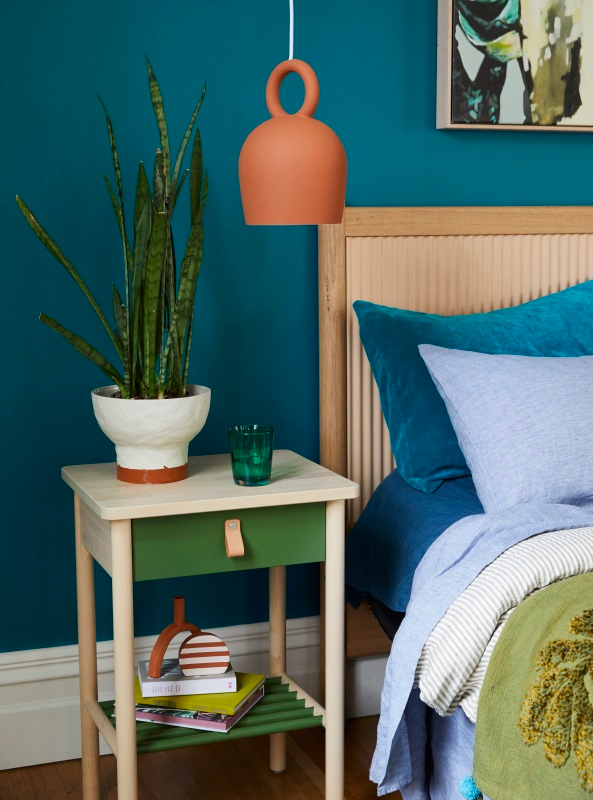
It’s easy to be impressed by the images you see in magazines and on design sites – the challenge is knowing how to make them work in your own home. Dulux has partnered with interior stylist Julia Green to guide you step-by-step on how to give your rooms an on-trend makeover. Artwork by Georgie Wilson. Colour featured: Dulux Sea Creature.
Julia's styling tips
When choosing colours, think about the mood you want to create. I chose greeny-blues and accents of cinnamon and terracotta here because I wanted to create a cosy, refreshing vibe.
Start with an artwork: Take your colour cues from a key painting or print to give your room scheme an intentional feel. Add energy to the space with one or two jolts of an unexpected colour. And remember; contrast is key.
If you’re adding white to the mix, choose one with similar undertones as your brights.
Think beyond walls – use paint to revamp old furniture and accessories too. You may just find yourself falling right back in love with them!
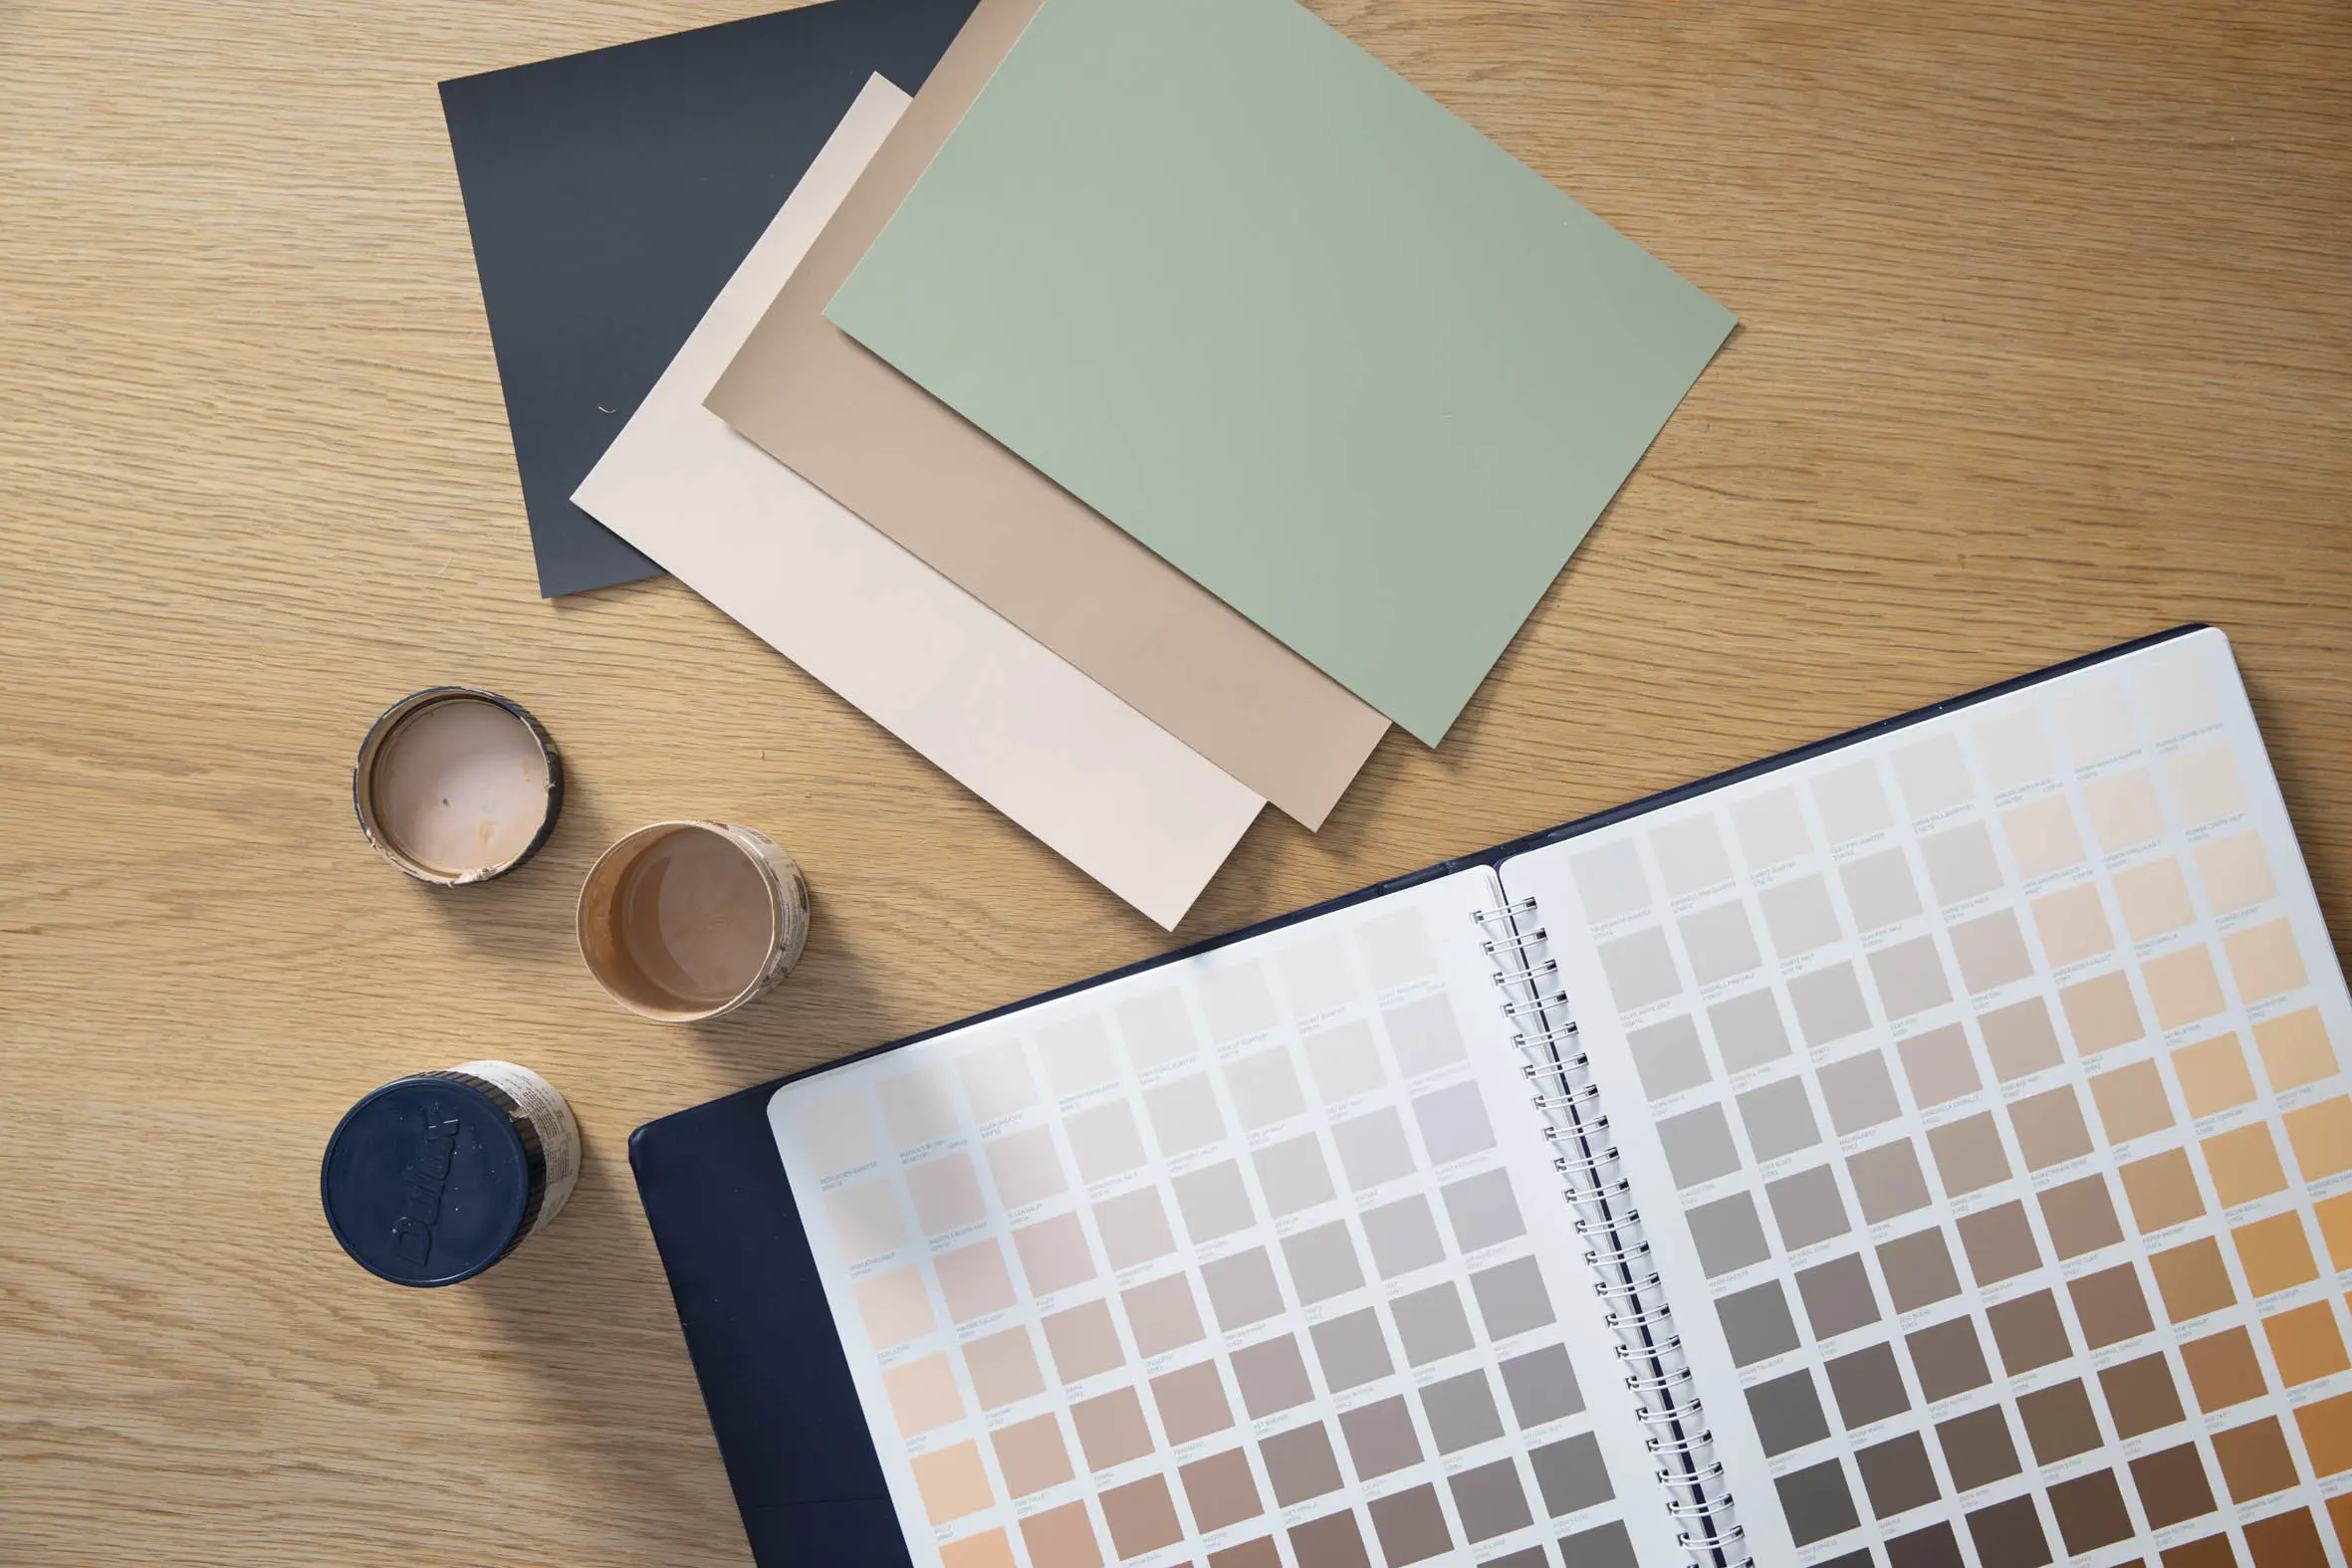
Have fun and experiment – remember, if you change your mind about a colour, you can always paint over it. To feel confident with your choice, always start with a sample pot or A4-size swatches so you can live with the colour for a few days without fully committing.
Get the Look with Julia Green (Repair)
Walls with Dulux Wash&Wear® Low Sheen
Follow the preparation steps on the back of the can. Dulux 1Step® Prep can be used for a prep coat. (In Western Australia we suggest PRECISION® Sealer Binder)
Using Wash&Wear® Low Sheen, start by cutting in around the edges of the wall with a brush. These are areas the roller cannot easily reach.
Using a 9mm or 12mm nap synthetic roller, load roller in the tray with a reasonable amount of paint.
Start rolling the wall in an ‘M’ pattern. Start closest to the natural light source. Continue over the same section until the wall is evenly covered.
Using an unloaded roller begin in the top left corner of your wall and gently let the roller roll down to the baseboards in a straight line with no pressure. A lightness of touch will prevent new roller marks from forming. Repeat this action, only this time slightly overlap your last movement so your roller rubs away the line created by the previous stroke. Continue this across the area you have painted. This is called laying off.
Reload your roller and repeat until the wall is complete.
Allow the first coat to dry and repeat the total process again with a second coat.
Side Table
Ensure all surfaces are prepared thoroughly. If painting a new timber surface, prime with Dulux 1Step® Prep.
Start by cutting in around the edges of the piece of furniture.
Apply Dulux Aquanamel® to the surface using short, horizontal brush strokes.
Once you’ve completed an area, while paint is still wet, lightly smooth over the painted section with long brush strokes. Do not reload the brush when you do this, a few strokes should be enough to smooth the surface.
Allow 2 hours to dry, then give the surface a light sand with 400 grit sandpaper.
Repeat above steps for a second coat.
Suppliers
All bedlinen Sage & Clare @sageandclare available from @greenhouseinteriors
Bed head – Beeline Design @beelinedesigns available from @greenhouseinteriors
Light – Pott Projects available from @greenhouseinteriors
Rug – Designer Rugs @designerrugs
Pouffe – The Cullin Design @thecullindesigns
Artwork – Georgie Wilson @georgiewilsonart available from @greenhouseinteriors
Ceramics on bottom shelf of bedside table – Formantics @formantics available from @greenhouseinteriors
Side table and mirror – Ikea
Discover your own style...
Deciding on the right colour can be difficult. To help you take on your next painting project, order a 100ml sample pot, A4 swatches and stickers to see your colour at home.
Dulux expert colour designers take their knowledge of all the latest trends and timeless colour schemes to help bring your home to life.
Our expert support team can help with everything from choosing colour, what product is the most appropriate for your job or troubleshooting when something hasn’t gone your way.
Disclaimer
Colours displayed should be used as a guide for your colour selection. To ensure best accuracy, test your colour choice at home by ordering Dulux sample pots, stickers and A4 colour swatches.


