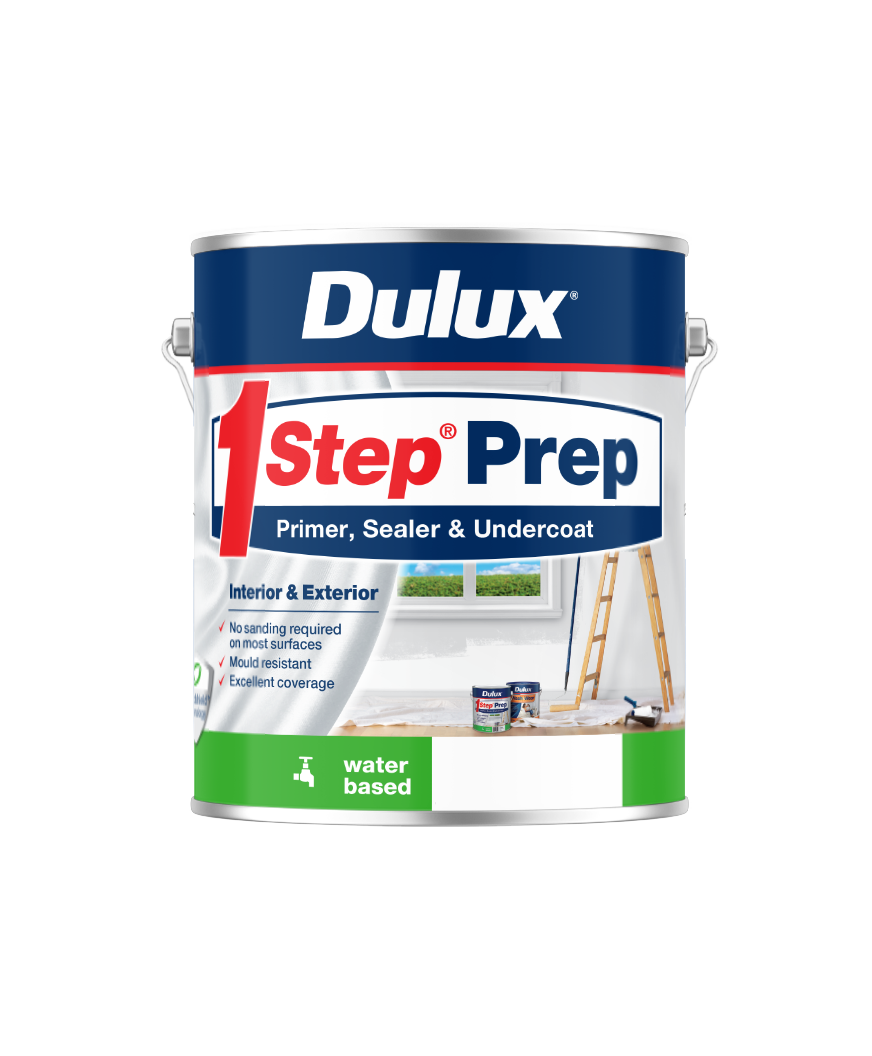
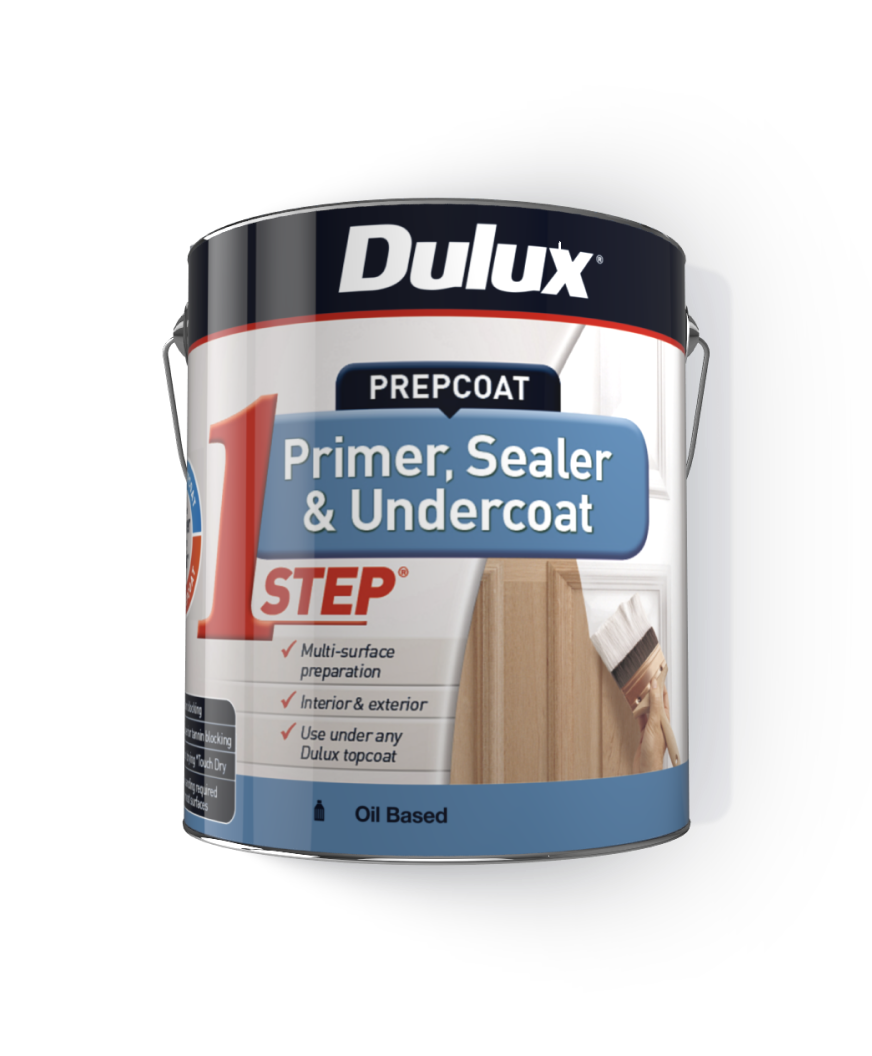
1Step® Prep Water Based Primer, Sealer & Undercoat

About 1Step® Prep Water Based Primer, Sealer & Undercoat
Dulux 1Step® Prep Water Based Primer, Sealer & Undercoat is your first step toward a superior long-lasting paint finish. With mould resistance and stain blocking of tannin and flash rust, 1Step® Prep ensures your interior or exterior paint shines now and into the future. Use 1Step® Prep for all general paint surfaces in your home including interior and exterior walls, ceilings, doors, windows, trim, and especially in kitchens, bathrooms and outside areas where mould could be a problem.
Downloads
Application
Low VOC untinted and when tinted with Dulux Decorama tinters. VOC content is calculated in accordance with APAS Australian Testing Standards. Visit apas.gov.au for further information.
At a glance
- Interior and exterior
- Low VOC
- Apply with brush, roller or spray
- Coverage rate 14m2/L
- Superior adhesion
Areas to use
Surfaces
• Galvanised iron
• ZINCALUME®
• Brick
• Masonry
• Paper-faced plasterboard
• Timber
• MDF
• Render
• Concrete
• Cement sheet
• PVC
• Previously painted surfaces
Previously Painted Surfaces
Painted and pre-primed surfaces:
1. Test if surface is sound (refer to surface test below).
2. Ensure surfaces are clean and stains are removed as much as possible by washing down with Selleys® Original Sugar Soap, using a scourer for any tough stains.
3. Scrape off all loose and flaking paint then fill any cracks or holes with a suitable filler.
4. Sand the filled areas and any rough surfaces to a smooth finish.
5. Dust off.
6. For very glossy surfaces, sand to a dull finish using 240 grit sandpaper.
For pre-primed surfaces, contact Dulux Help & Advice.
For chalky surfaces, sand back to a strongly bound surface and dust off.
Timber:
1. Fill nail holes with a suitable flexible wood filler.
2. Sand the surface to reflect the final finish you desire. Sand any raised wood fibres to a smooth finish.
3. For very dark, tannin rich timbers, use Dulux 1Step® Oil-Based Primer, Sealer & Undercoat.
For pre-treated timber, check with the timber manufacturer for preparation and painting guidelines.
Galvanised iron and ZINCALUME®:
1. Clean with Selleys® Original Sugar Soap to remove grease and dust.
2. Thoroughly wash off with water and allow to dry.
Brick, masonry, fibro and fibre cement board:
Freshly laid masonry and cement-based surfaces should be left to cure for minimum 28 days before painting.
1. Ensure surface is sound and clear of any loose sand or cement.
2. Wash down with water using a stiff brush to remove all loose material.
3. Fill holes with grouting cement.
4. To remove any efflorescence (white salts) wipe down with a 5% solution of acetic acid (white vinegar).
Surface Test
1. Ensure surface is sound by cutting a small X through the existing paint with a sharp blade, press cellulose tape firmly across the cut and then rip off the tape.
2. If the paint comes off, it is unsound and should be removed. Repeat at random in a number of areas, to test the surface.
Check to see if there is any mould on the surface. If so, wash with a bleach solution (one part bleach, three parts water) or de-mossing chemical to remove mould or moss. Then wash with water.
Refer to Dulux Help & Advice for further advice on surface preparation and product details.
Brush, roller
Check the weather forecast. Do not paint on excessively cold or humid days.
Exposure to rain or overnight dew whilst drying may result in the coating being damaged or removed.
Stir well with a broad flat paddle using an up and down scooping action then apply one coat of Dulux 1Step® Prep.
If applying to new paper-faced plasterboard with jointing compound, a second coat may be required to ensure an even finish.
When painting exterior surfaces, ensure topcoat is applied no more than one week after application.
Airless/Conventional Spray
Suitable for application by all standard spray equipment. If necessary thin up to 100ml per litre of DULUX Spraying Thinner to aid atomisation.
Clean brushes and rollers with mineral turpentine prior to and after use.
Spray application is not recommended for priming timber surfaces.
Unused paint
Unused paint: Do not pour leftover paint down the drain. Unwanted paint should be brushed out on newspaper and allowed to dry, and then disposed of via domestic waste collections. Empty paint containers: Leave empty paint containers open in a well-ventilated area to dry out. When dry, recycle the container via steel can recycling programs. Disposal of empty paint containers via domestic recycling programs may differ between local authorities. Check with your local council first. Do not reuse container unless thoroughly decontaminated. For more information on responsible disposal of paint and packaging visit paintback.com.au or painttakeback.co.nz
- Preparation
- Interior
- Exterior
Make confident decisions about your project needs with support from our wide network of colour and product specialists, tools, programs and apps — or chat to one of our expert consultants now.

Imagining how a space will feel in a new colour scheme is hard. Save time and gain colour confidence the smart way with personal guidance from an expert Dulux Colour Consultant.
Learn more-->Our expert support team can help with everything from choosing colour, what product is the most appropriate for your job or troubleshooting when something hasn’t gone your way.
Find help and advice-->


