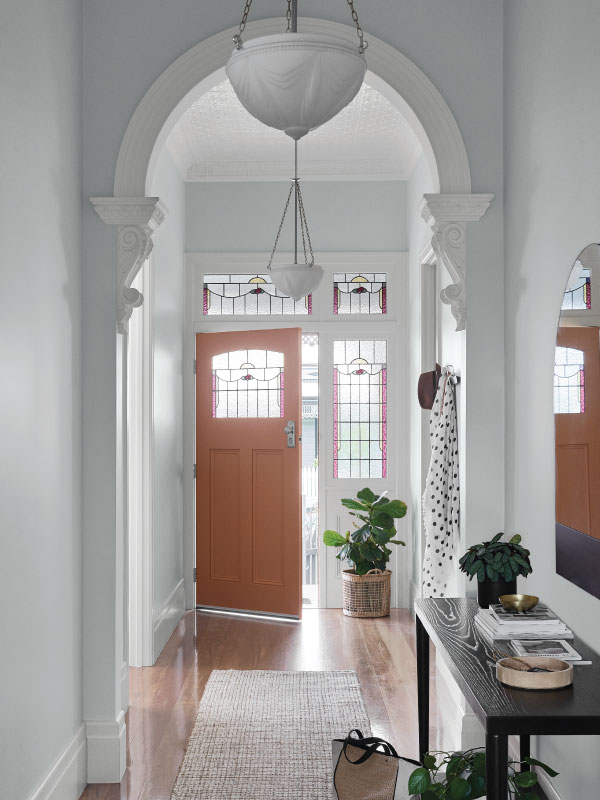
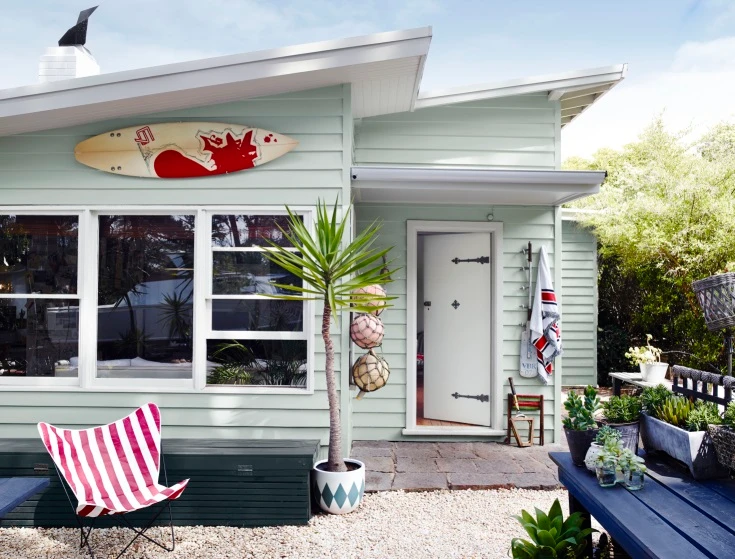
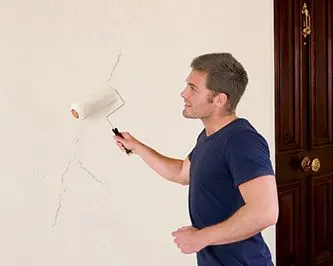
Painting & Application
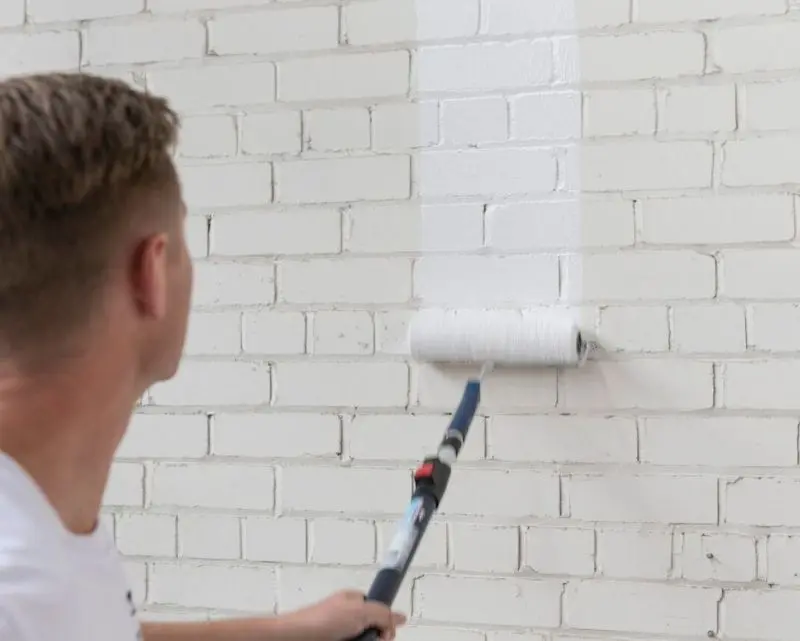
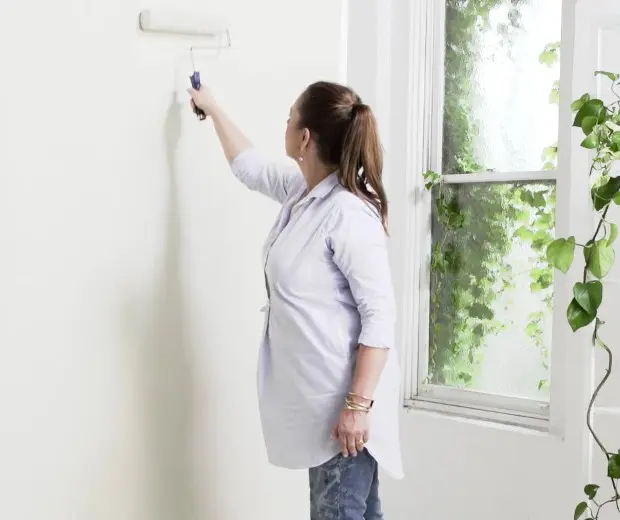
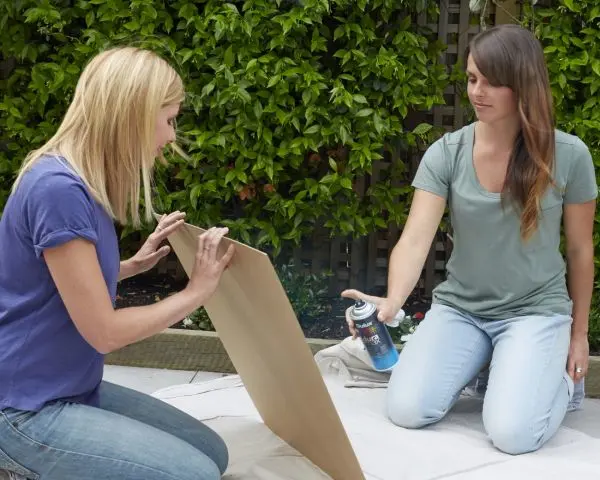
The way you apply your paint is as important as the colour itself. Here are some helpful tips for getting the perfect finish.
The way you apply your paint is as important as the colour itself. Here are some helpful tips for getting the perfect finish.